Are you seeking for a feasible way to completely get rid of and uninstall NVIDIA High Definition Audio 1.0.0.17? If you're having some trouble doing that, here is the right place to help you thoroughly uninstall NVIDIA High Definition Audio 1.0.0.17. If NVIDIA High Definition Audio 1.0.0.17 is corrupted or damaged, the best way to get it work properly is to uninstall it and then reinstall it. But what can you do when you receive error messages during the uninstallation process or when you can't find it in your Programs and Features? Now, in order not to make your situation worse, please stop trying your own methods to uninstall NVIDIA High Definition Audio 1.0.0.17, and follow the listed professional methods to remove NVIDIA High Definition Audio 1.0.0.17.
Possible Error Caused by Incorrect Uninstall Methods
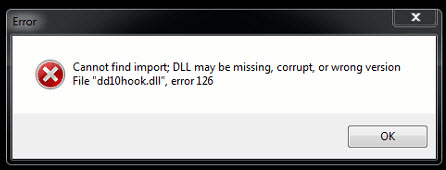
Error example
The above error messages are all caused by incomplete uninstallation of related programs. Incompletely uninstallation of a program will leave some invalid keys in the system registry, which will cause such error pop-ups when the system still executes them.
Automatically Uninstall NVIDIA High Definition Audio 1.0.0.17 (Recommended):
This specialized uninstaller can not only help you uninstall NVIDIA High Definition Audio 1.0.0.17 from the computer effectively, but also identify and delete all leftover files, folders and invalid registry entries belonging to NVIDIA High Definition Audio 1.0.0.17.
Manually Uninstall NVIDIA High Definition Audio 1.0.0.17:
Step 1: End all processes that are related to NVIDIA High Definition Audio 1.0.0.17
Step 2: Uninstall NVIDIA High Definition Audio 1.0.0.17
Step 3: Delete invalid entries of NVIDIA High Definition Audio 1.0.0.17 in the registry
Step 4: Delete leftovers of NVIDIA High Definition Audio 1.0.0.17 in hard drive
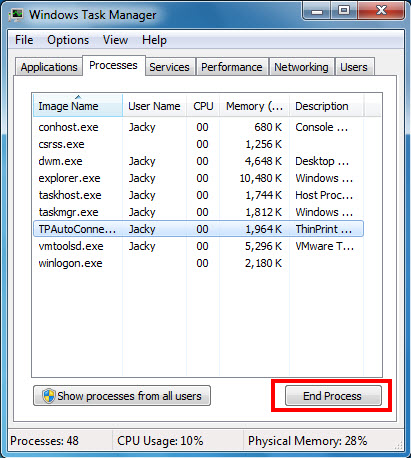
Step 1: End all processes that are related to NVIDIA High Definition Audio 1.0.0.17
Hold Ctrl, Shift and Esc keys on the keyboard to open Task Manager. Then click on the related process and click End Process (in Windows 7, Vista) or End Task (in Windows 8) button.
Step 2: Uninstall NVIDIA High Definition Audio 1.0.0.17
You can uninstall NVIDIA High Definition Audio 1.0.0.17 by any of the following uninstall methods:
Method 1: Uninstall NVIDIA High Definition Audio 1.0.0.17 via Control Panel
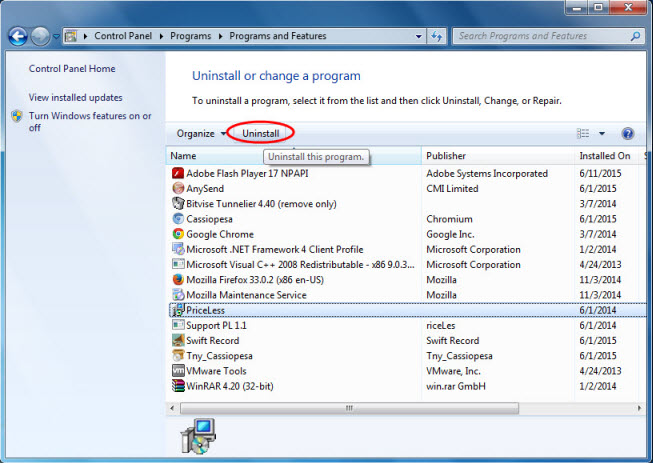
1. Open Programs and Features.
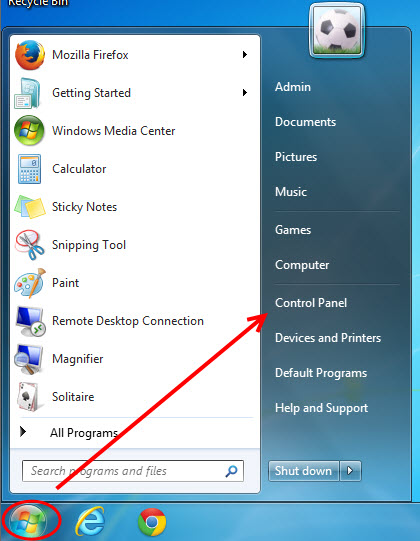
In Windows 7 and Vista,
a. Click Start menu and click Control Panel
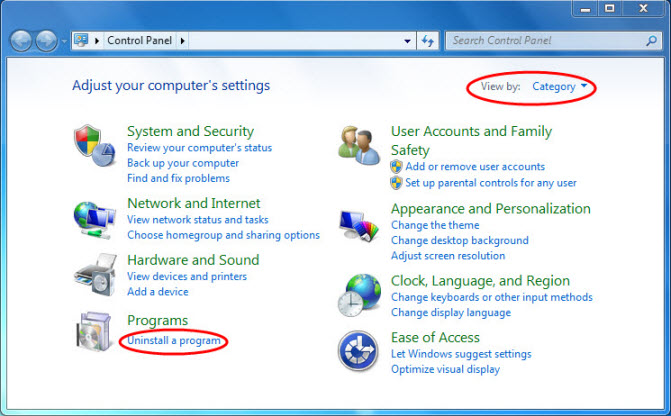
b. Select View by Category and click Uninstall a program
In Windows 8 or later,
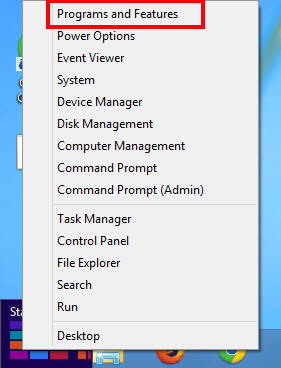
Hover the cursor in the bottom-left corner of the screen, right-click on the Start button when a small image of the Start Screen appears and select Programs and Features
2. Click on NVIDIA High Definition Audio 1.0.0.17 and click Uninstall to uninstall it from your computer.
Method 2: Reinstall to Uninstall NVIDIA High Definition Audio 1.0.0.17
If some of program files that are needed to uninstall NVIDIA High Definition Audio 1.0.0.17 are missing or corrupted, you may fail to uninstall it. Believe it or not, reinstalling NVIDIA High Definition Audio 1.0.0.17 may do the trick. If you still keep the original disk or the download file of NVIDIA High Definition Audio 1.0.0.17, you can try that to repair the program. After repairing the program, you can try to uninstall it again.
Method 3: Uninstall NVIDIA High Definition Audio 1.0.0.17 via Windows Registry
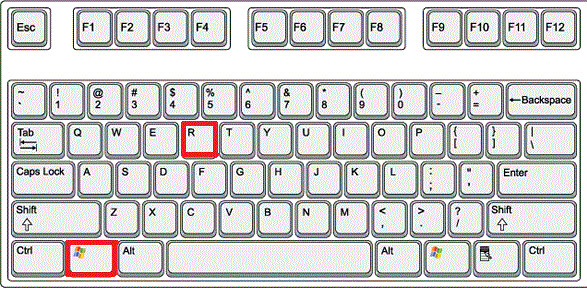
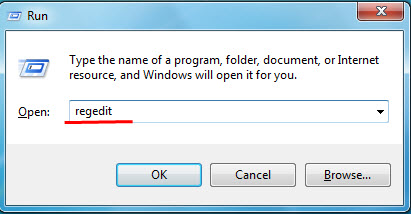
1. Open regedit. To do so, press Windows and R keys, type in regedit and hit Enter.
2. Navigate to the following key:
HKEY_LOCAL_MACHINE\SOFTWARE\Microsoft\Windows\CurrentVersion\Uninstall
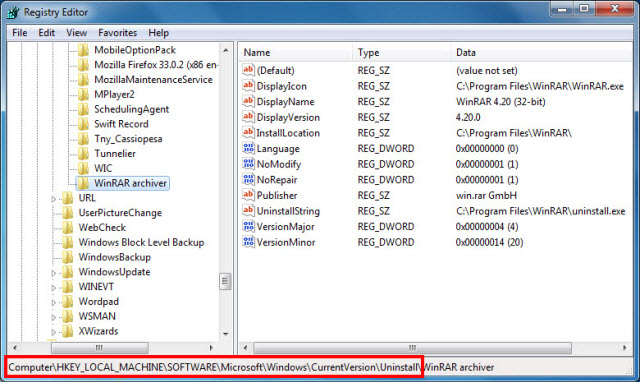
3. Find the program you want to uninstall, search for a string value called UninstallString in the right panel.
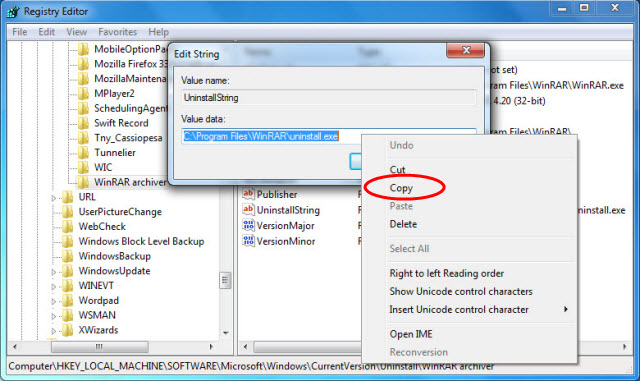
4. Double-click on it and copy its value.
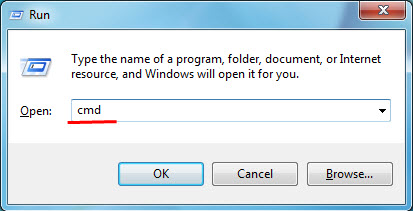
5. Press Windows and R keys, type in cmd to open command prompt.
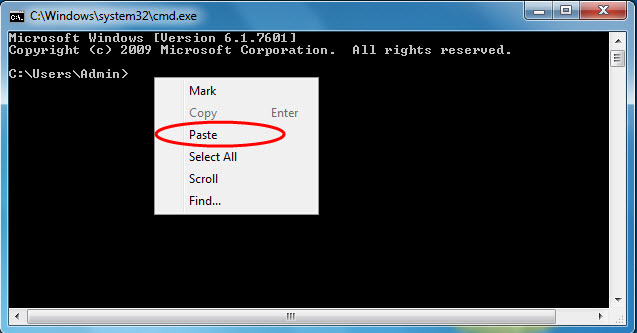
6. Right click, paste the value and hit Enter key. After that, the program will begin to uninstall. Click Yes when it asks for your confirmation.
Note: If you have a 64-bit Windows system, you may need to navigate to the following key to look for 32-bit programs:
HKEY_LOCAL_MACHINE\SOFTWARE\Wow6432Node\Microsoft\Windows\CurrentVersion\Uninstall
Step 3: Delete invalid entries of NVIDIA High Definition Audio 1.0.0.17 in the registry
Video Guide: How to back up and edit the registry
Note: It's very important for you to know that the registry is one of the most important part of the Windows system, you should be extremely careful when deleting any keys in the registry. Any small mistake can result in severe problems or even system crash. So removing NVIDIA High Definition Audio 1.0.0.17 by editing the registry is only recommended to computer users with certain computer knowledge. If you don't want to take the risk to damage your computer system, it's recomended that you use this Automatic Registry Cleaner to clean invalid keys.
Step 4: End all processes that are related to NVIDIA High Definition Audio 1.0.0.17
Even you uninstall NVIDIA High Definition Audio 1.0.0.17 in Control Panel and remove invalid keys in the registry, there are still some folders left in hard drive. To completely remove NVIDIA High Definition Audio 1.0.0.17 from your system, you can go to the following locations to delete the folders of NVIDIA High Definition Audio 1.0.0.17.
C:\Program Files (x86)
C:\Program Files
C:\ProgramData
C:\Users\Default\AppData\Local
C:\Users\Default\AppData\Roaming
Uninstall NVIDIA High Definition Audio 1.0.0.17 using a Professional Third-Party Uninstaller
Many computer users don't like using the built-in uninstall utility in Windows Operating System to uninstall a program, because it often leaves behind some program files. Most of the time, a program will leave behind some files and keep your settings in your system. For example, some demo versions of program will leave some files saying that they have expired to prevent you from get another free trial again. Some programs even refuse to be uninstalled, as their publishers want to force users to keep using their programs or services. No matter what problem you run into during the uninstallation process, at this time, a professional third-party uninstaller is the best solution to completely get rid of an unwanted program, as it will forcibly and completely uninstall and remove any unwanted program off your computer with only a few clicks. Click and download this professional third-party Uninstaller now.