Looking for a workable way to get Kill Switch off your system? There are always many reasons that make you want to uninstall programs from your computer from time to time. To keep your computer work properly, it's always a good habit to uninstall Kill Switch you haven't used for a long time. However, we cannot have everything we wish for. There may be also many problems that make you not able to uninstall Kill Switch from your PC, such as program errors, program not listed in Programs and Features, corrupted programs and so on. Therefore, to help you out, we've also worked out a few workable methods as well.
Possible Error Caused by Incorrect Uninstall Methods
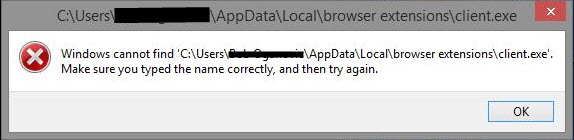
Error example
The above error messages are all caused by incomplete uninstallation of related programs. Incompletely uninstallation of a program will leave some invalid keys in the system registry, which will cause such error pop-ups when the system still executes them.
Automatically Uninstall Kill Switch (Recommended):
This specialized uninstaller can not only help you uninstall Kill Switch from the computer effectively, but also identify and delete all leftover files, folders and invalid registry entries belonging to Kill Switch .
Manually Uninstall Kill Switch :
Step 1: End all processes that are related to Kill Switch
Step 3: Delete invalid entries of Kill Switch in the registry
Step 4: Delete leftovers of Kill Switch in hard drive
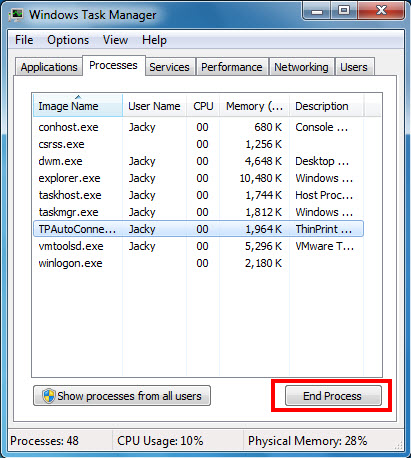
Step 1: End all processes that are related to Kill Switch
Hold Ctrl, Shift and Esc keys on the keyboard to open Task Manager. Then click on the related process and click End Process (in Windows 7, Vista) or End Task (in Windows 8) button.
Step 2: Uninstall Kill Switch
You can uninstall Kill Switch by any of the following uninstall methods:
Method 1: Uninstall Kill Switch via Control Panel
1. Open Programs and Features.
In Windows 7 and Vista,
a. Click Start menu and click Control Panel
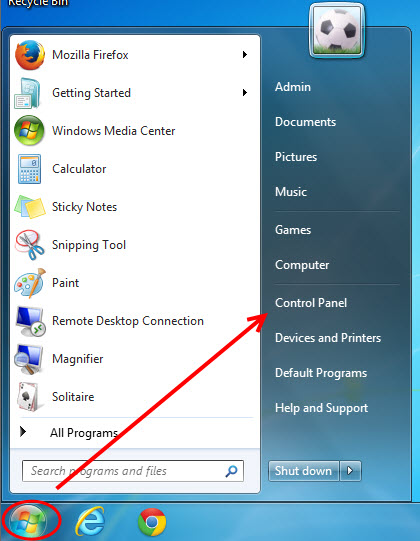
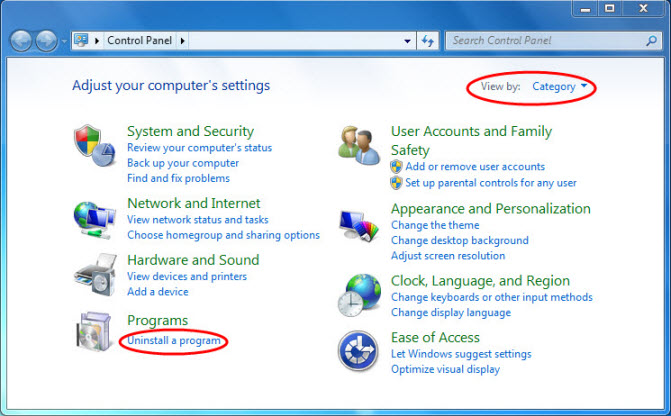
b. Select View by Category and click Uninstall a program
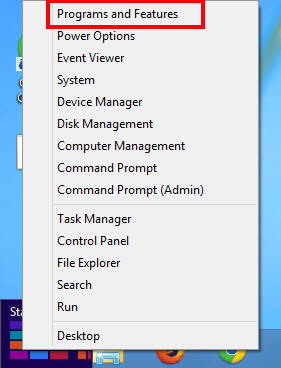
In Windows 8 or later,
Hover the cursor in the bottom-left corner of the screen, right-click on the Start button when a small image of the Start Screen appears and select Programs and Features
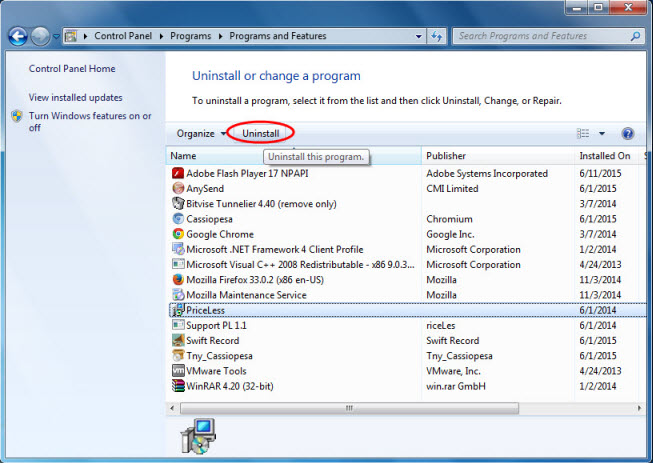
2. Click on Kill Switch and click Uninstall to uninstall it from your computer.
Method 2: Uninstall Kill Switch via Virus Removal Tool
Some unwanted programs can install into your computer without being noticed, as they like to spread by attaching to free software and games that people often download online. Sometimes, you cannot remember when certain program was installed on your computer until you suffer a lot from its annoying pop-ups. Usually, this kind of potentially unwanted programs can escape from the detection of your installed antivirus. If you have tried the above methods but still fail to remove Kill Switch , it's really necessary for you to check whether it's a virus or not. Click and download this powerful Virus Removal Tool to check your PC. If it's a computer virus, it will be automatically deleted when you click Remove after the scan.
Method 3: Uninstall Kill Switch using its Uninstall.exe
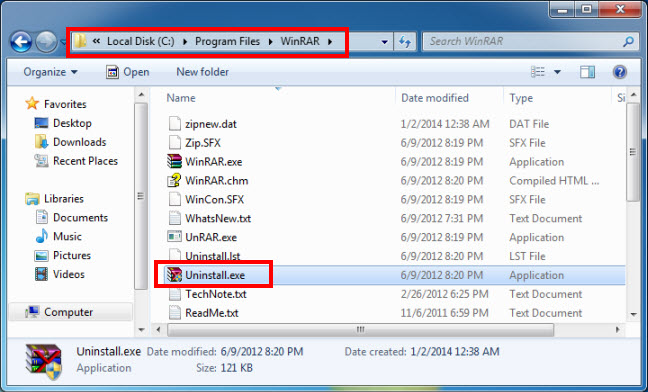
If you cannot find Kill Switch in Programs and Features, then you may be able to uninstall it thru its uninstall.exe.
a. For 32-bit Windows 7, Vista, 8 or later, open the C:\Program Files folder, open the program's folder (ex: WinRAR), and go to step 3 below.
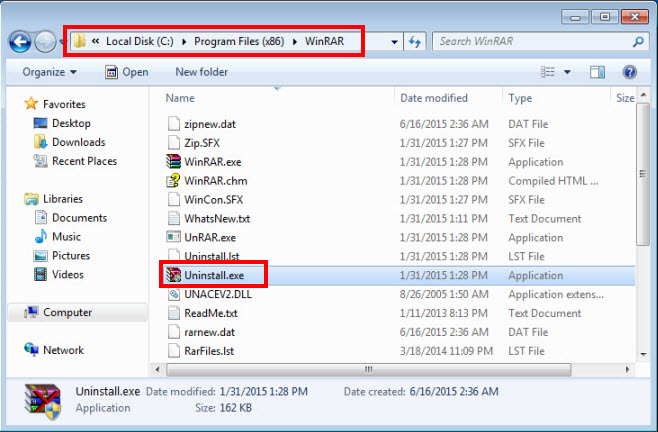
b. For 64-bit Windows 7, Vista, 8 or later, open either the C:\Program Files folder for an installed 64-bit program or C:\Program Files (x86) folder for a installed 32-bit program, and open the program's folder (ex: WinRAR).
Method 4: Uninstall Kill Switch via Windows Registry
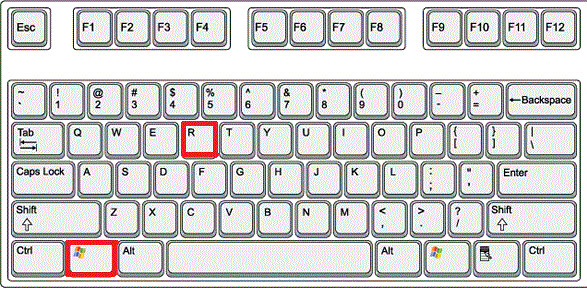
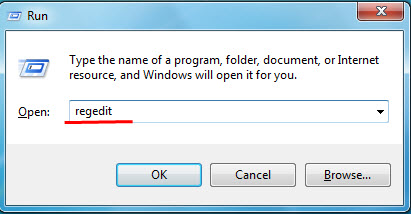
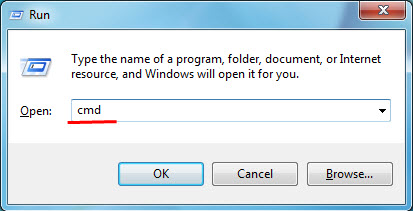
1. Open regedit. To do so, press Windows and R keys, type in regedit and hit Enter.
2. Navigate to the following key:
HKEY_LOCAL_MACHINE\SOFTWARE\Microsoft\Windows\CurrentVersion\Uninstall
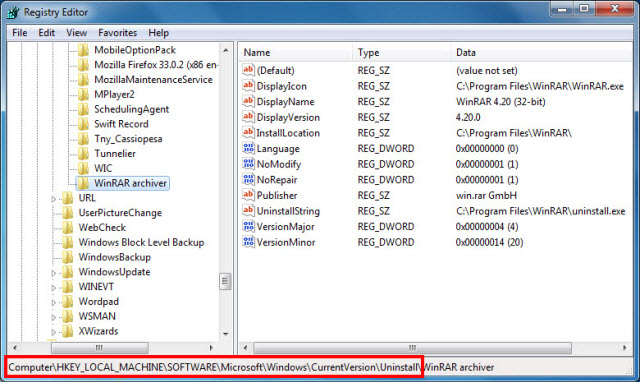
3. Find the program you want to uninstall, search for a string value called UninstallString in the right panel.
4. Double-click on it and copy its value.
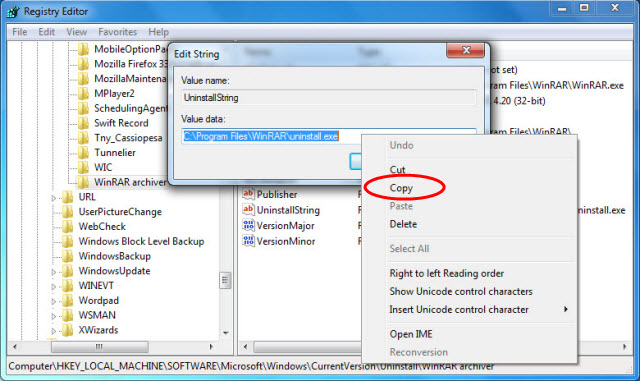
5. Press Windows and R keys, type in cmd to open command prompt.
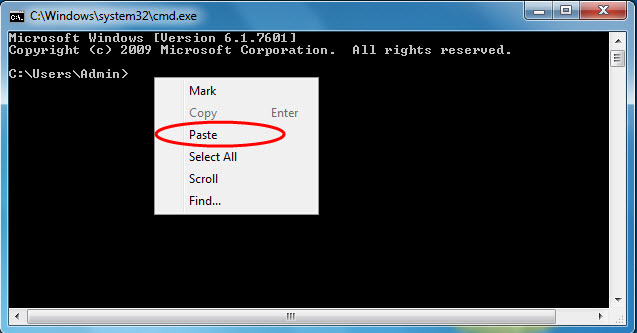
6. Right click, paste the value and hit Enter key. After that, the program will begin to uninstall. Click Yes when it asks for your confirmation.
Note: If you have a 64-bit Windows system, you may need to navigate to the following key to look for 32-bit programs:
HKEY_LOCAL_MACHINE\SOFTWARE\Wow6432Node\Microsoft\Windows\CurrentVersion\Uninstall
Step 3: Delete invalid entries of Kill Switch in the registry
Video Guide: How to back up and edit the registry
Note: It's very important for you to know that the registry is one of the most important part of the Windows system, you should be extremely careful when deleting any keys in the registry. Any small mistake can result in severe problems or even system crash. So removing Kill Switch by editing the registry is only recommended to computer users with certain computer knowledge. If you don't want to take the risk to damage your computer system, it's recomended that you use this Automatic Registry Cleaner to clean invalid keys.
Step 4: End all processes that are related to Kill Switch
Even you uninstall Kill Switch in Control Panel and remove invalid keys in the registry, there are still some folders left in hard drive. To completely remove Kill Switch from your system, you can go to the following locations to delete the folders of Kill Switch .
C:\Program Files (x86)
C:\Program Files
C:\ProgramData
C:\Users\Default\AppData\Local
C:\Users\Default\AppData\Roaming
Uninstall Kill Switch via Automatic Uninstaller
Manually uninstalling Kill Switch cannot promise a 100% removal of Kill Switch , especially for computer users with little computer knowledge. If you have tried the above manual uninstall steps but still cannot get Kill Switch removed from your system, it's very necessary for you to use this Automatic Uninstaller to do it for you. With only a few clicks, you can easily uninstall any stubborn program from your computer system.